
“Well, This is definitely the best service I’ve ever encountered with a pool Cleaning company. Ricky was absolutely amazing. Was on time, polite and did a wonderful job. I would…

A pool pump is the heart of your swimming pool’s circulation system. It keeps your water clean, balanced, and safe by driving water through the filtration system. When your pump starts acting up—making noise, leaking, or failing to circulate water properly—it can feel like a costly emergency. But here’s some good news: many pool pump issues can be tackled with a bit of DIY knowledge, the right tools, and a dose of patience.
In this guide, we’ll walk you through how to save money with DIY pool pump repair, what tools you’ll need and how to avoid common mistakes. Additionally, according to the blog, DIY vs. Professional Pool Repair: Which Option is Right for You?, understanding the ins and outs of pool repair and maintenance is the first step in knowing where you should DIY or hire a professional pool maintenance service.

Before you dive into repairs, it’s important to understand which issues are safe and manageable for homeowners to address themselves.
| Problem | DIY Repair Feasibility | Common Fix |
|---|---|---|
| Pump won’t turn on | Moderate | Check power supply, breaker, and timer settings |
| Leaking water | Easy to Moderate | Replace worn O-rings or pump seals |
| Strange noises (grinding or humming) | Moderate | Clean debris, check bearings |
| Low water flow | Easy | Clear skimmer basket, clean filter |
| Air in pump basket | Easy | Tighten fittings, check for suction leaks |
| Pump overheating | Moderate | Improve ventilation, check motor cooling fan |
You don’t need a full mechanic’s toolbox to fix most pool pump issues. Here’s a list of essential tools and supplies:
Having these on hand can save you time and trips to the hardware store when a repair is needed.
Let’s take a closer look at a few typical repair scenarios you can tackle at home.
“Problems are not stop signs, they are guidelines.” – Robert H. Schuller, was an American Christian televangelist, pastor, motivational speaker, and author
1.Pump Won’t Turn On
Possible Causes:
DIY Fix:
💡 Safety Tip: Always turn off power at the breaker before working on electrical components.
2. Water Leaking from the Pump Housing
Leaks often happen at the pump lid or where the housing connects to the pipes. The blog, Pool Pump Leaking? Diagnose, Repair, and Prevent Leaks mentioned that whether it is a water leak, air leak, or a mysterious drip, a leaking pool pump can lead to water loss, higher bills, and even damage your swimming pool equipment.
DIY Fix:
3. Pump Making Loud Noises
Grinding or whining often signals worn bearings or debris inside the impeller.
DIY Fix:
4. Air in the Pump Basket
If you see bubbles in the basket or at your return jets, air may be entering the system through a loose fitting.
DIY Fix:
Not all problems are worth tackling yourself. Here’s a quick comparison:
| Situation | DIY or Call a Pro |
|---|---|
| Basic electrical testing | DIY (if comfortable) |
| Full motor replacement | Call a Pro |
| Replacing seals and gaskets | DIY |
| Diagnosing internal wiring fault | Call a Pro |
| Removing impeller blockages | DIY |
| Complete pump replacement | Call a Pro |
Neglecting Electrical Connections
Loose or damaged electrical connections pose safety risks and lead to malfunctions. Regular inspections and tightening of connections, as well as professional electrical checks, help prevent these issues.
| Electrical Maintenance Task | Frequency | Importance |
|---|---|---|
| Visual inspection of wiring | Monthly | High |
| Tightening of connections | Quarterly | Medium |
| Professional electrical check | Annually | Critical |
Even without crunching the exact numbers, DIY pool pump repair can lead to significant savings especially when it comes to minor issues like replacing O-rings, tightening fittings, or clearing debris.
While not every fix is worth doing yourself, tackling small repairs and regular maintenance can help you avoid expensive breakdowns, reduce service calls, and extend the lifespan of your pump.
“Beware of little expenses. A small leak will sink a great ship.” – Benjamin Franklin, was an American polymath: a writer, scientist, inventor, statesman, diplomat, printer, publisher and political philosopher
Regular maintenance is your best strategy for minimizing future problems. Here’s how:
DIY pool pump repair is a smart way to save money, extend the life of your equipment, and feel empowered as a pool owner. But knowing your limits is part of the equation. If you’re unsure about electrical wiring, motor replacements, or anything that could risk injury or damage, it’s better to bring in an expert.
If your DIY attempts don’t resolve the issue or if something feels off, it’s better to book a call than guess. Getting an expert’s opinion early can sometimes prevent bigger damage and higher costs down the track.
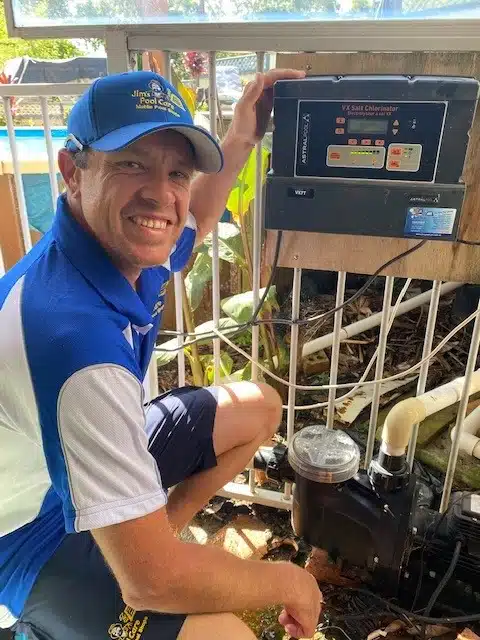
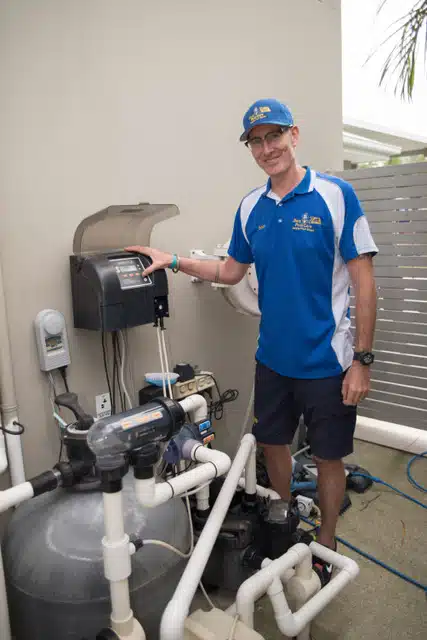
Jim’s Pool Care offers professional support from experienced, local technicians. Book Now with Jim’s Pool Care for fast, friendly, and expert support.
We welcome your questions and feedback. We are here to help!
Yes, many common pool pump issues—such as leaks, low flow, or strange noises—can be repaired by homeowners using basic tools and replacement parts. DIY pool pump repair can save money and prevent unnecessary service calls, but always switch off power before starting any work.
Essential tools for pool pump repair include screwdrivers, an adjustable wrench, Teflon tape, pool-safe lubricant, and a multimeter for electrical checks. Having a soft cloth or toothbrush on hand is also helpful for cleaning internal components like the impeller.
Loud noises from a pool pump often indicate clogged debris in the impeller, worn bearings, or cavitation caused by air leaks. Turn off the pump, open the housing, and check for obstructions. If noise persists, you may need to replace worn parts or seek professional help.
Pool pump leaks are commonly caused by worn O-rings, damaged seals, or loose fittings. To fix a leaking pool pump, replace the O-rings and apply silicone-based lubricant, then ensure all connections are tight without overtightening.
Air can enter your pool pump through loose fittings, cracked suction lines, or a faulty pump lid O-ring. Check for bubbles in the pump basket or return jets, then inspect and tighten all suction-side connections and replace any damaged components.
A failing capacitor may cause your pool pump to hum without starting or start slowly. You can test it with a multimeter, but if you’re unsure, it’s best to replace the capacitor or consult a technician. Capacitors are relatively inexpensive and easy to replace.
Call a pool technician if you’re dealing with complex electrical issues, motor failure, or internal damage you can’t identify. If basic fixes don’t resolve the issue or you’re uncomfortable working with electricity, professional service is the safest option.
Regular maintenance is key. Clean the pump basket weekly, check and lubricate O-rings monthly, inspect for leaks, and avoid running the pump dry. Listening for unusual noises can also help you catch problems early before they become costly.
Save time, stress, and money without the guesswork. Let our trained technician at Jim’s Pool Care handle your pool pump with care. Book now!
Get to know our studio before you commit to becoming a regular student. We can’t wait to meet you!